
“Any customer can have a car painted any color they want, as long as it’s black.” These were the famous words of Henry Ford in the early 1900’s. The quote referred to his Model T, which he wanted to make efficient and accessible to the general public. Going back 100 years and moving to SharePoint Online, we too face a similar color dilemma. While there is more than one color to choose from on a SharePoint site, the choice is inherently fairly limited. In this post I want to explain how you can configure and apply a custom theme in SharePoint Online.
Out of the Box-Themen
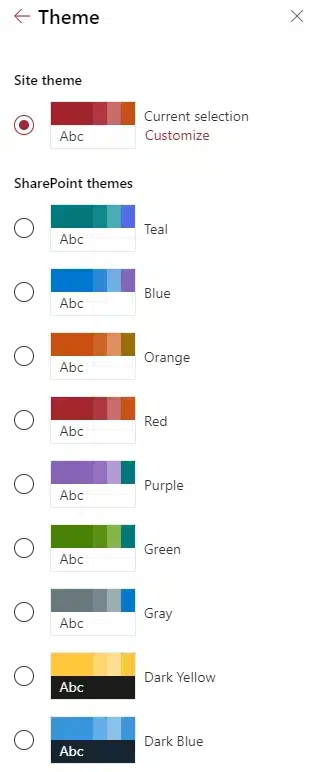
Once installed, the choices are pretty limited. If you choose Gear Icon > Change Appearance > Themes, you’ll see a palette of just nine color themes.
Configuration and application of a custom theme in SharePoint Online
Important information in advance
- Unfortunately, at the time of writing this post, you’ll need to use a little PowerShell to customize the theme to match your brand’s specific colors. This is not possible via the user interface. You know me, I just focus on SharePoint

- The new theme we will create will be an additional theme that users can choose from (in addition to all the themes already available)
Step 1: Create a custom theme using Theme Generator Tool
1.Navigate to this URL to create your new theme
2.In the Color section, you can choose your own colors to match your brand. The master page is rendered in real time to show you how the page will look with the new colors. It will also check the page for accessibility issues and give you warnings/guidance at the bottom of the screen.

3.In my case, my sample page looks like this

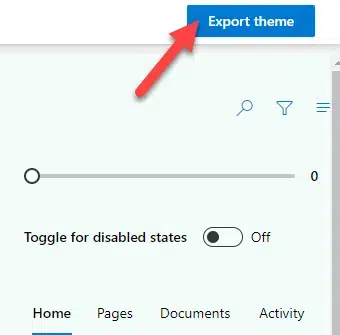
4.Then click Export Theme in the top right corner
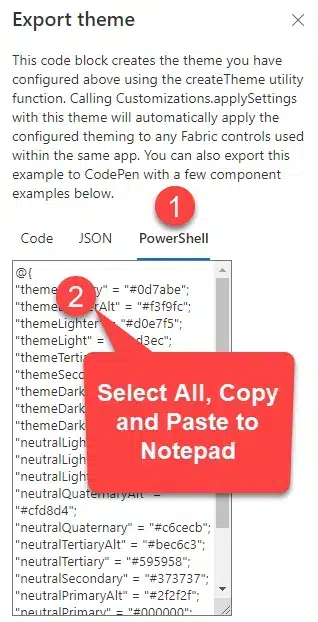
5.On the next screen select the PowerShell tab and copy all the text into a notepad (we will need it for further steps)
Step 2: Run PowerShell command to install custom theme
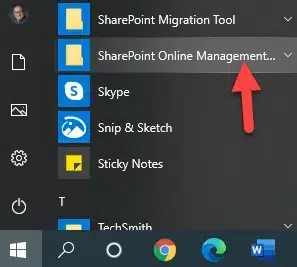
1.Download the SharePoint
Click SharePoint
Paste the following command into the command prompt: Connect-SPOService -Url https://domain-admin.sharepoint.com (where domainA domain is a name that is unique and unambiguous worldwide on the Internet. The domain can be used for websites and emails. is the name of your SharePoint

4. Anschließend müssen Sie sich anmelden. Stellen Sie sicher, dass Sie Anmeldedaten mit SharePoint-Admin-Zugang eingeben.

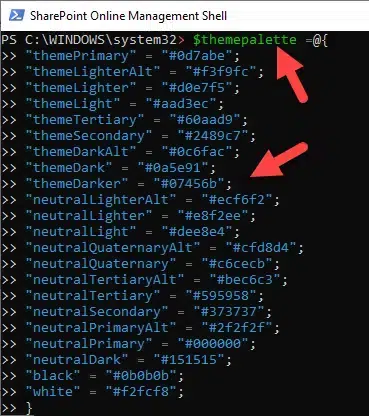
At the prompt, type $themepalette = and paste the code you exported in step 1 (copy it from Notepad). It should look like the following image. Press Enter.
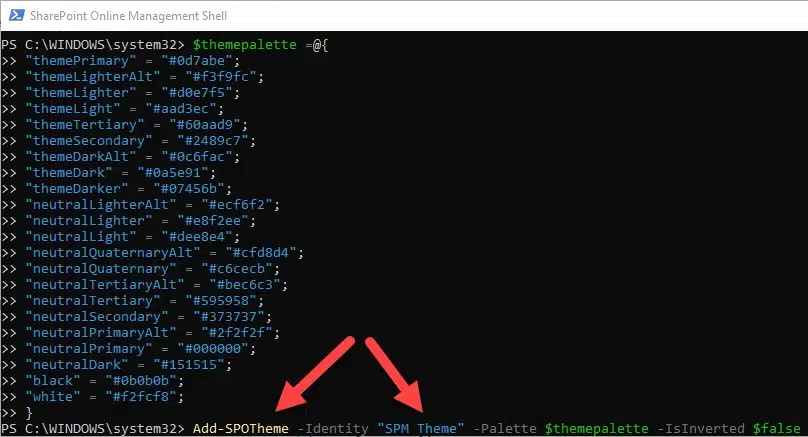
Then type the following command: Add-SPOTheme -Identity “name of your theme” -Palette $themepalette -IsInverted $false where name of your theme is the name of the theme you want to give/assign to the theme. NOTE: The theme name will be visible to the end users. So choose something obvious, e.g. B. “Company Theme”. In my case, I named my theme SPM Theme. Press Enter.
Mazel Tov! The hard part is complete, no more code, I promise. We can now switch to this new topic in SharePoint
Step 3: Update the topic on a SharePoint site
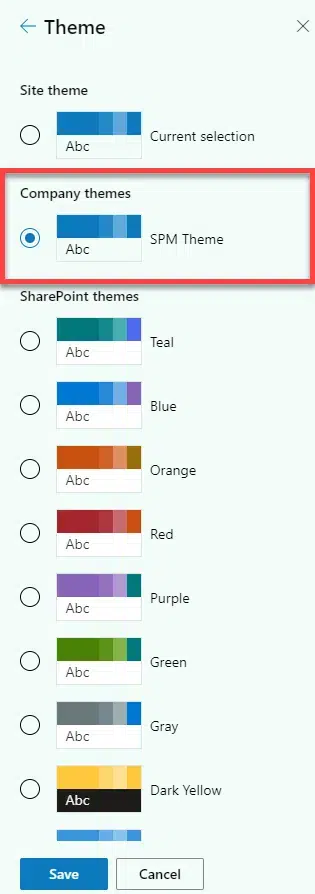
Once you hit Enter after the last command in the PowerShell step above, the custom theme has been installed/added to SharePoint
And this is how the website looks after I switched it to my custom theme (if you’re a graphic designer, please don’t kill me).

Additional read/PowerShell commands
There are other PowerShell commands that you may need to know about, or even need to run, in your tenantThe client (English tenant ) is the highest level of regulatory authority in the IT system and represents a closed unit in the system in terms of data and organization. The client thus structures the use of the system. A Tenant needed. The tenant is the “rented room” in the Microsoft data center, which is identified by the tenant name.... For example, if you want to remove the theme you created or hide the default themes so users can’t select them. For such cases, I recommend you to read this Microsoft article to learn more about these additional related PowerShell commands.
Dieser Beitrag ist auch verfügbar auf:
![]() Deutsch (German)
Deutsch (German)

 Skip to content